The great thing about offering InstaMorph in white is that it readily accepts pigment to become whatever color plastic you desire. The key is having the right kind of ink. We found that alcohol based stamping inks, which are available at any craft store, are the best. The alcohol base is what makes it easily blend into InstaMorph. (You can’t achieve the same results from something like food coloring, which are water based.)

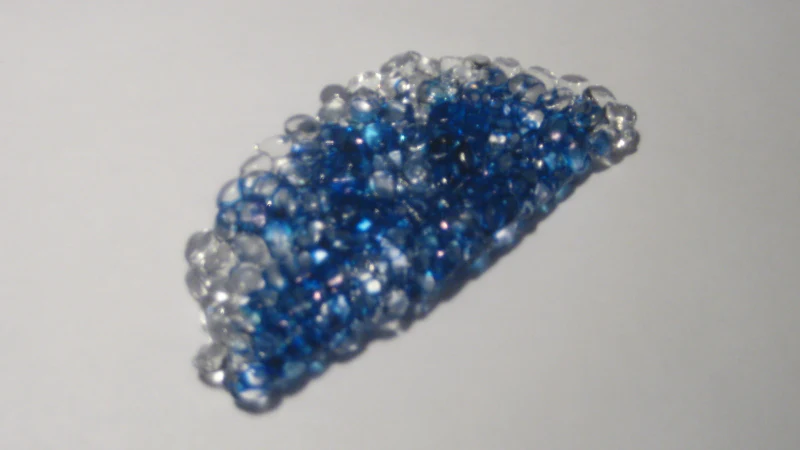
The first step is to heat up some InstaMorph. Below is a picture of some InstaMorph that has just been heated up to temperature (notice the clear beads). Then, using the alcohol inks, we place a couple drops of ink on the still warm beads. As you would expect, the more ink you use the deeper the color will be. In this example, we wanted a really intense blue so we used around 6 – 7 drops of ink for this amount on InstaMorph. After adding the ink, it’s time to work in the pigment to distribute the color. If you want a more marbled look with some lighter colored bits in the finished product, don’t kneed your InstaMorph so much. If you want a uniform color throughout, you will want to give it some extra work. You may also need to reheat the InstaMorph once or twice to keep it pliable through this process.

Below is a picture of a well worked piece with the blue color distributed throughout. Remember, it might look uniform when it is still warm (since the InstaMorph will be clear), but once it cools, you’ll have a better idea of how well you mixed in the color. Remember, if you didn’t come out the way you wanted it to, heat it back up, kneed it some more, add some more ink, add some more InstaMorph. Do whatever you need to do to make it right, just remember that with InstaMorph, and a little patience, you can.

In the picture below is a view of the finished product once it has been cooled. In this example, we created a thin piece, a small tube, and a ball, just to give you an example in how the color looks like in all three surfaces. It kind of reminds us of blue kelp. Note that even though the InstaMorph has returned to its solid state, the usual white is now replaced with a deep, rich, blue color. One of the great things about dying InstaMorph is that the color isn’t going to chip off (like if it were painted) as the color is embedded into the plastic. Examples on what to use this technique include:
- Match the color of a object you are fixing to make it less conspicuous
- Color objects for use in costuming or prop making
- Make funky colored beads or other jewelry
- Replace new handles or knobs for tools and appliances that match the existing color scheme.
- Overall, we think this is a great way to extend the possibilities in a jar of plain white InstaMorph. I mean, we still
- love white InstaMorph, but everything is better in color.


