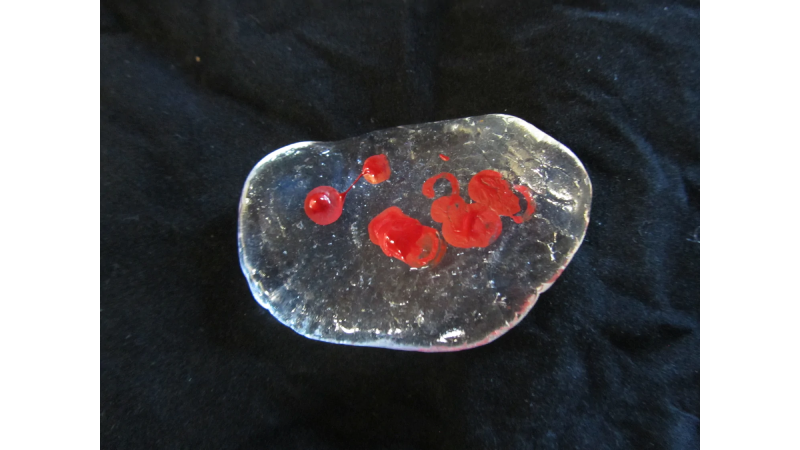
We saw on the internet that many had been successful in using coloring agents for epoxy and resins (used for boat building) to dye similar plastics. These are commonly found at a local marine hardware store, such as West Marine. The InstaMorph Team used Evercoat brand’s “Coloring Agent” in this example. For those that don’t have access to a marine hardware store, there is a boat shop selling Evercoat Coloring Agents on Amazon.
The process for using epoxy coloring gel is very similar to alcohol inks, but the epoxy stuff is more potent (meaning you have to use less to achieve the same color) but more unpleasant to use.
Before doing any dying with epoxy coloring agents, be sure to read (and follow) all the warnings on the package.

First, heat up some InstaMorph and let it cool until it is safe to work the material by hand. Place a small amount of dye on the center of a disk of InstaMorph, similar to the image below. The amount pictured is enough to dye InstaMorph to a deep pink, or light red (depending on how you look at it). You can reheat your InstaMorph and add more coloring agent if the color isn’t deep enough. Experiment and adjust your ratio for your individual project.

Fold the disk in half to encapsulate the dye inside the plastic. Then stretch and refold your InstaMorph (like kneading bread) until the color is evenly distributed. This will take a good number of stretches and folds, so be patient and reheat your InstaMorph if necessary. For a demonstration of this process, watch this YouTube video we made to accompany this how-to.
After fully blending the coloring agent in with your InstaMorph, you should be left with a colored piece of plastic, similar to the picture below.
You can now reheat it (it will retain its color) and use it in your next InstaMorph project.
Create colored knobs for your custom electronics project. Color code custom grips for your tools. Try mixing two colors together (or one color with original, white InstaMorph) for a cool blended camouflage effect.


